Introduction
In this project, I am replicating the results for seams removal/insertion and optimal retargetting from “Seam Carving for Content-Aware Image Resizing”, S. Avidan and A. Sharmir, 2007. Seam carving is a technique to resize an image while taking the content into account, so that important features in the image stay as intact as possible during the resizing (either a decrease or increase in size). It works by finding connected vertical or horizontal seams and removing/inserting them one at a time. These seams pass through the less important content in general due to their low energy content, thus preserving the general shape of the more important content as much as possible.


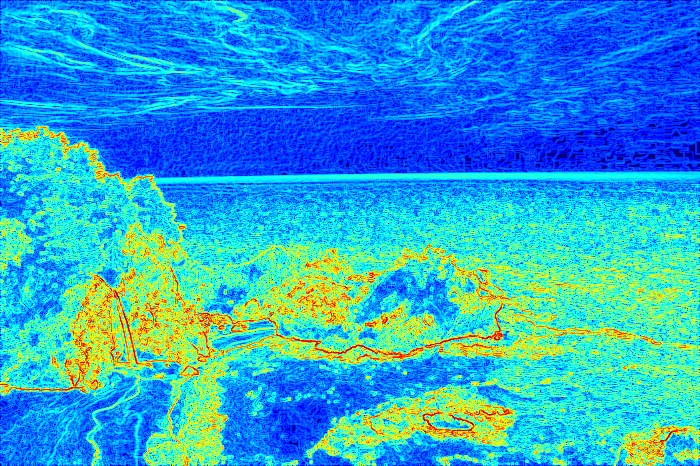
notice that main features such as the rocks are still mostly preserved
Implementation
Energy Function and Seams
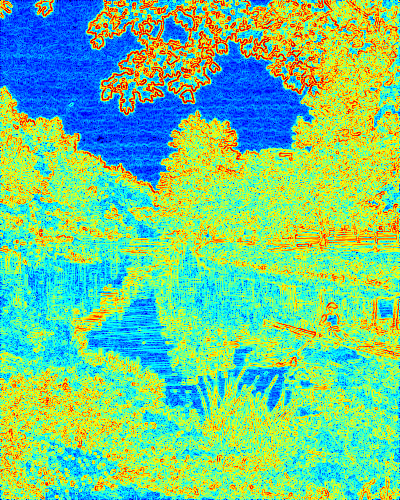
To identify the best seams for removal, we need an energy function:
![\[ e_{1}(I) = \left | \frac{\partial}{\partial x}I \right | + \left | \frac{\partial}{\partial y}I \right | \]](http://www.aisklogy.com/wp-content/ql-cache/quicklatex.com-8bcbab168645e6930bd407e1c54ed471_l3.png "Rendered by QuickLaTeX.com")
This is basically the sum of the absolute gradient in the x and y direction, at each pixel. The idea here is that if there are stark changes from the current pixel to neighboring pixels, then this pixel probably is at an area of high frequency content and should be preserved as much as possible.
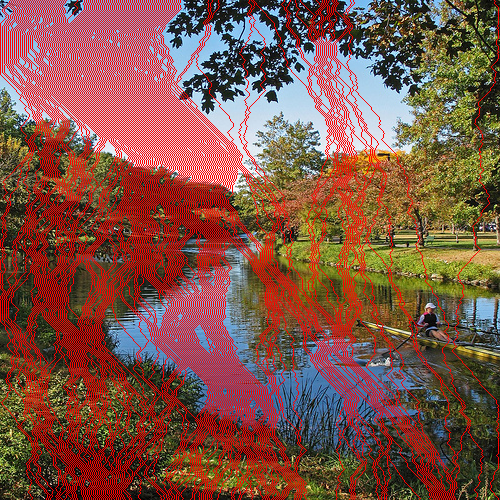
The pixels are removed as a connected seam, one seam at a time, so that the visual coherence of the image remains intact. A vertical seam is defined as a vertically-connected streak of pixels where the x coordinates between consecutive rows do not differ by more than one. The total energy of a seam is then the sum of the energy of all pixels in that seam. The goal is to remove unnoticeable pixels which corresponds to removing seams with the least total energy.

For the vertical case, this minimum seam can be found efficiently using dynamic programming by using
M(i,j) = e(i,j) + min(M(i-1,j-1), M(i-1,j), M(i-1,j+1))
where M is the minimum energy array and e is the energy array. I am vectorizing this update by working with entire rows: I used scipy.ndimage.filters.minimum_filter() on the row above in M to find the local minimums, adding the result to the current row of energy and storing the row in M. The minimum value in the last row corresponds to the energy of the minimum seam and indicates the end of that seam. The minimum seam can be found by backtracking upwards through the local minimums.
Removal of seams (reduction in size)
To remove a minimum seam in a vectorized manner, I am reshaping the 2d h*w array of pixels into a 1d array, removing the seam pixels, and then reshaping the result back into a 2d array of size h*(w-1). To remove multiple seams, one minimum seam is removed first, then the energy function is recalculated using the reduced image to find the new minimum seam which is then removed and so on.
Insertion of seams (increase in size)
To insert a seam into an image to extend it, the seam pixels are averaged with the neighboring left/right pixels and then duplicated one pixel to the right while pushing the other right pixels further to the right. This was done in a vectorized manner by creating masks for different regions (left of seam, right of seam and the seam), isolating those regions in the image, shifting the seam and right of seam by one pixel, then adding the results together. To insert multiple seams, inserting them one at a time will create a stretched artifact because the same minimum seam will be found repeatedly. Instead, the first k seams for removal were identified and then used to insert seams into the image one at a time, in the order that they were found. The issue here is during the search for the first k seams, after one seam is removed, the next seam has a different coordinate system due to a difference in image width. In order to use all k seams together, they must exist in the same coordinate system. I used numpy.meshgrid() on the original image to create a grid that stores the x-coordinate value of each pixel. As seams are inserted/removed, the same operations are done onto this image as well. This means that the coordinates of all detected seams are in terms of the common original image’s x-coordinates. During insertion of these seams, the same idea applies: another mesh grid is expanded as seams are inserted, and new seams are inserted using this coordinate system.
Handling both vertical and horizontal seams
The main bulk of my implementation is for removal and insertion of vertical seams. For horizontal seams, I transposed the source image, fed that through the methods for vertical seams, and then transposed the results.
Optimal retargeting
Given that we have to remove r rows and c columns from an image, we need to find out what is the order of removal that will produce the reduced image that has the minimum energy loss. A transport map T, which stores
the mimimum energy loss to obtain a reduced image of size r*c , is updated using
T(r,c) = min( T(r-1,c) + E(h,r-1,c), T(r,c-1) + E(v,r,c-1) )
where
randcare the current row and column indices respectivelyE(h, r-1, c)is the energy loss by removing a horizontal seam from the image inT(r-1,c)E(v, r, c-1)is the energy loss by removing a vertical seam from the image inT(r, c-1).
I also stored a T_goleft boolean 2D array that indicates whether the minimum loss at that location is from a vertical-seam removal in the left location, as opposed to a horizontal-seam removal in the top location. This allows for the backtracking of the optimal sequence of horizontal/vertical seam removals for the minimum energy loss.
Results
We have seen the result of reducing image size by removing seams in the images above. Now let’s look at the result of increasing the image size by inserting seams.


